Population management stands as one of the most critical challenges facing every Elvenar city architect. Whether you’re struggling to unlock that next technology, desperate to upgrade your manufactories, or simply watching your available workforce dwindle into negative numbers, understanding population dynamics transforms frustrating stagnation into explosive growth. This comprehensive guide reveals every strategy, technique, and hidden mechanic for maximizing your population in the magical world of Elvenar.
Understanding Population Fundamentals
Before diving into advanced strategies, grasp how population functions in your city. Your population consists of two key metrics: Total Population (the maximum residents your city can support) and Available Population (the workforce currently free for new projects). Buildings like residences increase your total capacity, while workshops, manufactories, and military structures consume workers, reducing available population
.
The delicate balance between these metrics determines your city’s expansion potential. Every upgrade, every new manufactory, every barracks improvement demands available population. When you attempt to build or upgrade without sufficient free workers, the game blocks your progress, forcing you to address population constraints before continuing
.
Strategy 1: Residence Optimization – Your Primary Growth Engine
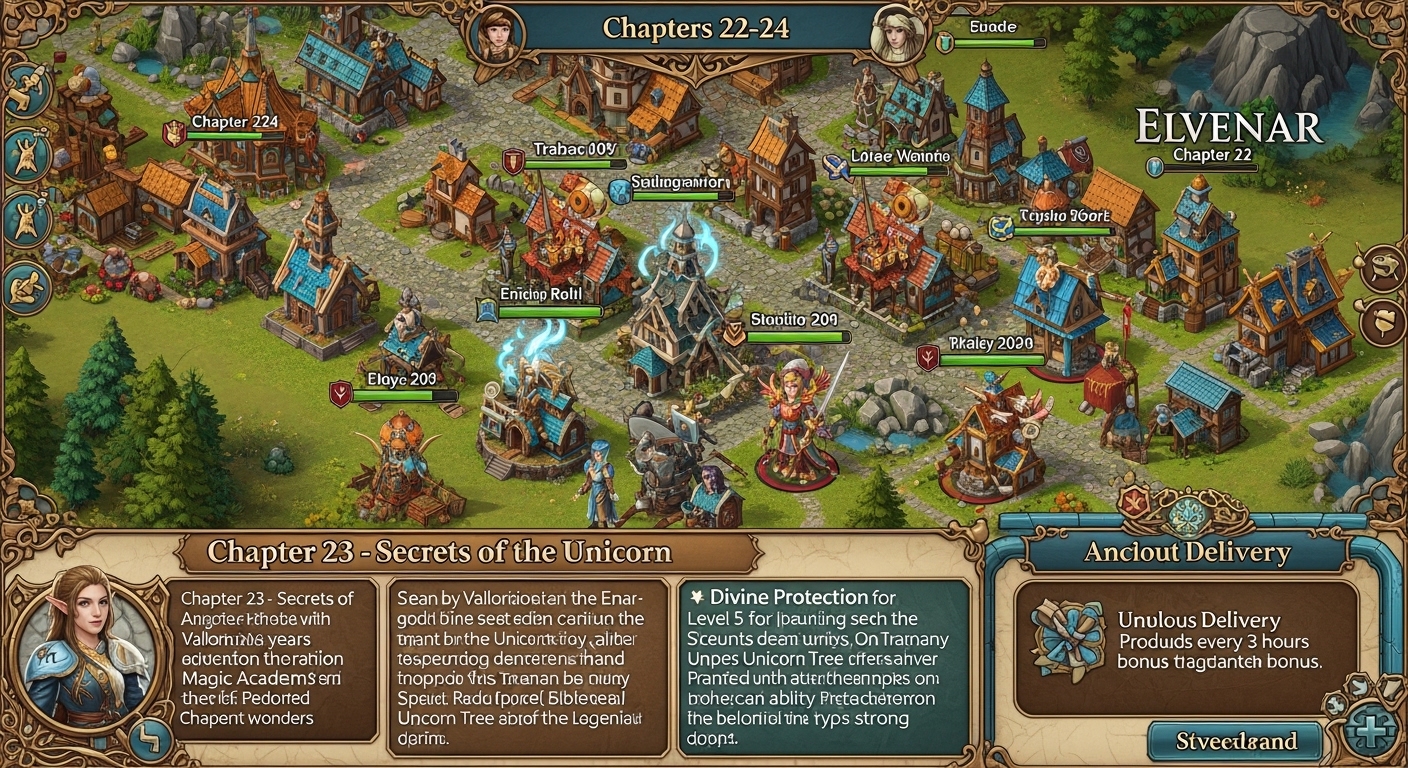
Residences form the backbone of population growth in Elvenar. These housing districts don’t just provide coins—they’re the fundamental source of your workforce expansion. According to Elvenar’s support documentation, building more residences and upgrading existing ones represents the primary method for increasing population
.
Upgrade Timing Excellence: Upgrading residences delivers immediate population bursts. For Elven players, placing a basic 2×2 residence provides 31 population instantly, with substantial increases at each tier
. However, upgrades require careful planning because residences expand physically as they improve. Elven residences grow from 2×2 to 2×3, then 3×3 at Superior level
. This expansion can collide with neighboring buildings, potentially forcing expensive city reorganization.
Strategic Placement for Maximum Efficiency: Position residences adjacent to cultural buildings to trigger productivity bonuses. The culture bonus system amplifies coin production from residences, creating a virtuous cycle where population growth funds further expansion
. Plan your city layout with future residence upgrades in mind, leaving expansion corridors that prevent costly relocations later.
The 2×2 Advantage: Early-game residences occupy minimal space while providing substantial population returns. Build these compact structures aggressively in your initial chapters, then upgrade them systematically as space permits and resources allow. This approach maximizes population density before transitioning to larger, more efficient high-tier residences.
Strategy 2: Cultural Buildings – The Hidden Population Source
While residences dominate population discussions, cultural buildings offer surprising workforce contributions that many players overlook. The official support documentation confirms that “some culture buildings also provide population”
, making them dual-purpose investments that enhance both aesthetics and functionality.
Population-Positive Culture Strategy: Evaluate cultural buildings not merely by their culture point values, but by their population contributions. Structures offering both culture and population represent exceptional value, essentially providing free workforce alongside mandatory happiness requirements. When facing population shortages, prioritize these dual-benefit buildings over pure culture structures.
The Culture Bonus Multiplier: Cultural buildings trigger happiness bonuses that increase coin production from residences. Higher coin income accelerates your ability to fund residence construction and upgrades, indirectly boosting population growth
. Maintain culture levels between 140-170% to balance space efficiency with production bonuses, using neighborly help to reach the 200% cap when needed.
Road-Free Culture Placement: Exploit the game mechanic that cultural buildings require no road connection
. Line your city borders with population-providing culture structures, completely disconnected from your road network. This preserves central space for residences and production buildings while still gaining workforce benefits.
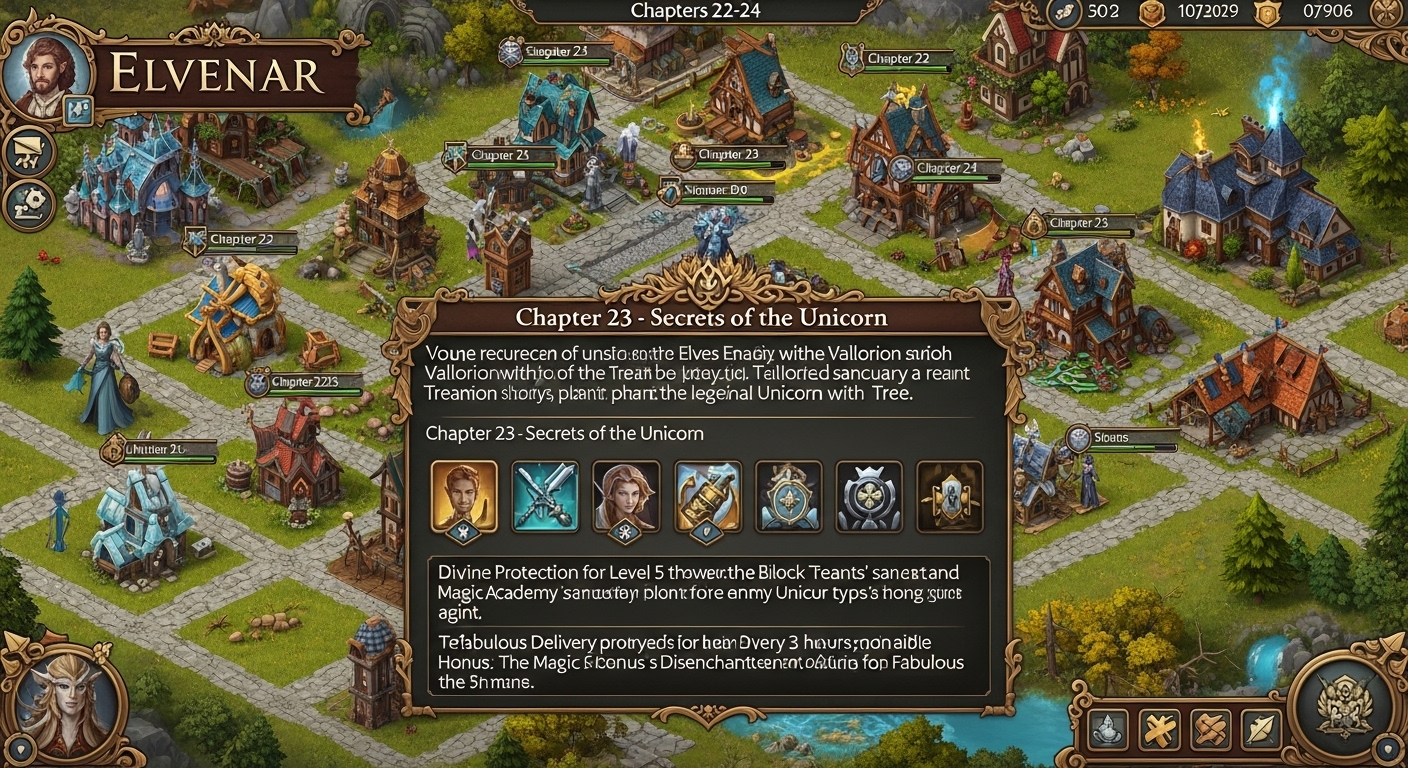
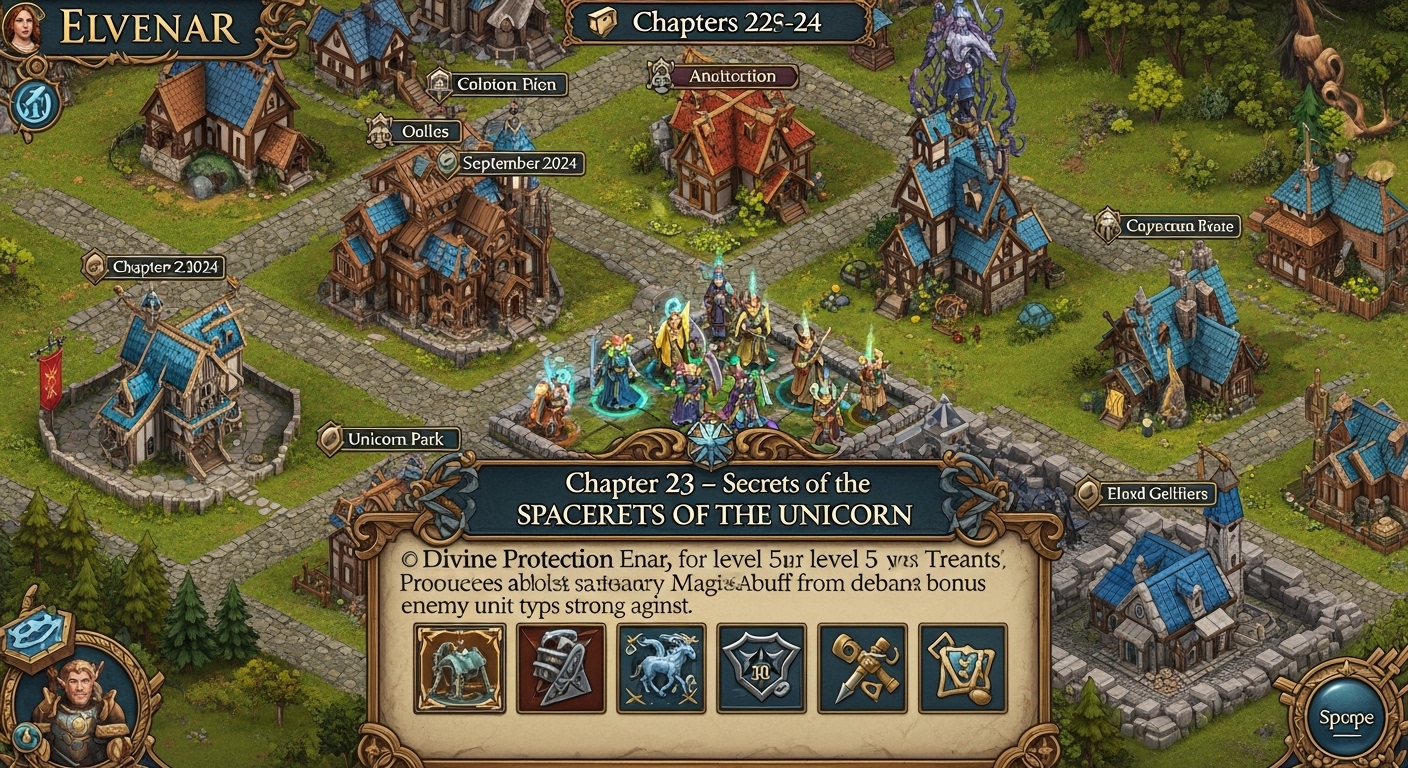
Strategy 3: Ancient Wonders – Monumental Population Solutions
Ancient Wonders represent Elvenar’s most powerful population tools, offering massive workforce increases that transcend standard building limitations. These monumental structures require dedicated construction space and significant resource investment, but deliver population rewards unmatched by conventional buildings
.
Golden Abyss: This wonder provides substantial population while generating coins, creating a self-sustaining economic engine. The population boost scales with your chapter progression, making it increasingly valuable as your city develops.
Mountain Halls: Offering both population and culture, this wonder addresses two critical needs simultaneously. The combined benefits often justify the construction costs and space requirements, particularly for cities struggling with both workforce shortages and happiness deficits.
Prosperity Towers: While primarily a goods-producing wonder, Prosperity Towers contributes population that supports its own operation and city expansion. The synergy between its production and workforce benefits creates efficient resource utilization.
Prioritize Ancient Wonder construction when standard residence building hits spatial constraints. These vertical solutions maximize population per square, essential for mature cities where horizontal expansion becomes impossible.
Strategy 4: Event Buildings and Magical Residences
Special events introduce limited-time buildings with exceptional population efficiency. Event residences and magical structures often provide superior population-to-space ratios compared to standard buildings, making them invaluable for advanced city planning
.
Magical Residence Replacement: When struggling with population constraints, consider replacing standard residences with Magical versions obtained through events or crafting
. These enhanced buildings typically offer increased population within the same or smaller footprints, instantly freeing workforce capacity without requiring city expansion.
Evolution Building Population: Event evolution buildings, upgraded through collected artifacts, frequently include population among their scaling benefits. A fully evolved event building can provide hundreds of population while simultaneously offering culture, coins, or goods production
. Participate actively in every event to acquire these multi-functional structures.
Phoenix Cultivation: The Ashen Phoenix base building, craftable in the Magic Academy, adds event currency to quests even without artifacts
. This enables more consistent event participation, indirectly supporting population growth through increased event building acquisition.
Strategy 5: Population Recovery and Emergency Management
Negative population represents a crisis state where your workforce consumption exceeds total capacity. This paralyzes city development, blocking construction, upgrades, and expansion. Understanding emergency recovery techniques prevents permanent stagnation
.
Immediate Relief Tactics:
- Upgrade Existing Residences: Even one level upgrade provides instant population relief, potentially unlocking frozen projects .
- Build Emergency Residences: If space permits, rapidly construct basic 2×2 residences for immediate workforce injection .
- Sell Population-Consuming Buildings: As a last resort, sell workshops or manufactories to instantly free their workforce requirements . Rebuild them after resolving the shortage.
Systematic Recovery Planning: After resolving immediate crises, implement sustainable growth patterns. Calculate your population consumption rate by summing workforce requirements of all existing buildings. Maintain available population buffer of at least 20% above current needs to accommodate unexpected upgrades or new constructions.
Strategy 6: Advanced Population Mathematics
Master population management requires understanding the numerical relationships governing workforce economics.
Population Density Optimization: Calculate population per square for each building type. Standard residences provide baseline density, while event buildings and Ancient Wonders often exceed these ratios. As your city matures, systematically replace low-density population sources with high-density alternatives.
Consumption vs. Production Balance: Track your population consumption rate—the total workforce required by all operational buildings. Ensure your production rate (residence upgrades and new construction) consistently exceeds consumption growth from city development. This differential drives sustainable expansion.
Technology Population Costs: Research technologies increasingly demand population prerequisites
. Before advancing chapters, verify your population capacity can support the new buildings and upgrades that technology unlocks. Premature research without supporting infrastructure creates bottlenecks.
Strategy 7: Fellowship and Trading Population Support
Your Fellowship (guild) membership indirectly supports population management through resource sharing and strategic coordination.
Goods Trading for Population Freedom: When your manufactories consume excessive population, trade for those goods instead. Efficient trading reduces required manufactory count, freeing workforce for other projects. Focus internal production on your boosted goods (those receiving relic bonuses), trading excess for non-boosted needs
.
Neighborly Help Culture Bonus: Regular visits from Fellowship members provide culture motivation, boosting your coin production and indirectly supporting residence construction
. Active Fellowship participation accelerates economic growth, enabling faster population expansion.
Fellowship Adventure Buildings: Participation in Fellowship Adventures rewards special buildings with population benefits. These structures often exceed standard building efficiency, providing exceptional long-term value for active contributors.
Strategy 8: Spatial Planning for Population Growth
Physical city layout dramatically impacts population potential. Strategic space management creates room for expansion without requiring premium currency purchases.
The Corner Anchor Strategy: Position bulky buildings like the Main Hall and Barracks in city corners with minimal road connections
. This preserves central space for residence clusters where population density matters most. As these buildings upgrade and expand, their corner placement prevents disruption to your population core.
Zoning Principles: Dedicate specific city sectors to population concentration. Group residences together for efficient cultural bonus coverage, while isolating production and military buildings that don’t benefit from happiness bonuses. This zoning maximizes the return on your cultural investments.
Expansion Timing: City expansions (gained through research, map exploration, or premium purchase) provide immediate population growth opportunities. Prioritize filling new expansions with residences before other building types, securing workforce capacity for future development.
Strategy 9: Long-Term Population Sustainability
Sustainable population management extends beyond immediate growth to ensure your city thrives through all game chapters.
The 8-Workshop Endgame Standard: Experienced players maintain approximately 8 workshops for efficient quest completion
. Plan population capacity to support this production level plus your military and goods manufacturing needs.
Quest Building Preservation: Maintain low-level “quest buildings”—deliberately underleveled workshops and basic manufactories
. These structures support event and Fellowship Adventure tasks requiring specific building upgrades or production types, preventing population waste on unnecessary high-level constructions.
Future-Proofing Through Technology: Research technologies increasingly unlock buildings with higher population demands. Maintain population surplus above current needs to accommodate chapter advancements without constant restructuring.
Conclusion: Your Population Mastery Journey
Population management in Elvenar represents a dynamic balance between growth, consumption, and spatial optimization. Master these strategies to transform your city from a struggling settlement into a thriving metropolis:
- Prioritize residence upgrades as your primary growth engine, placing them strategically for culture bonuses
- Exploit cultural buildings with population benefits for dual-purpose efficiency
- Invest in Ancient Wonders for monumental workforce solutions
- Participate in events for magical residences and evolution buildings
- Maintain emergency protocols for negative population recovery
- Optimize spatial planning to maximize population density
- Engage Fellowship systems for indirect population support
Remember that population growth in Elvenar is not merely about numbers—it’s about creating a sustainable ecosystem where workforce availability enables technological advancement, economic prosperity, and military strength. Every population point represents potential: potential for new manufactories, upgraded barracks, expanded trade, and technological mastery.